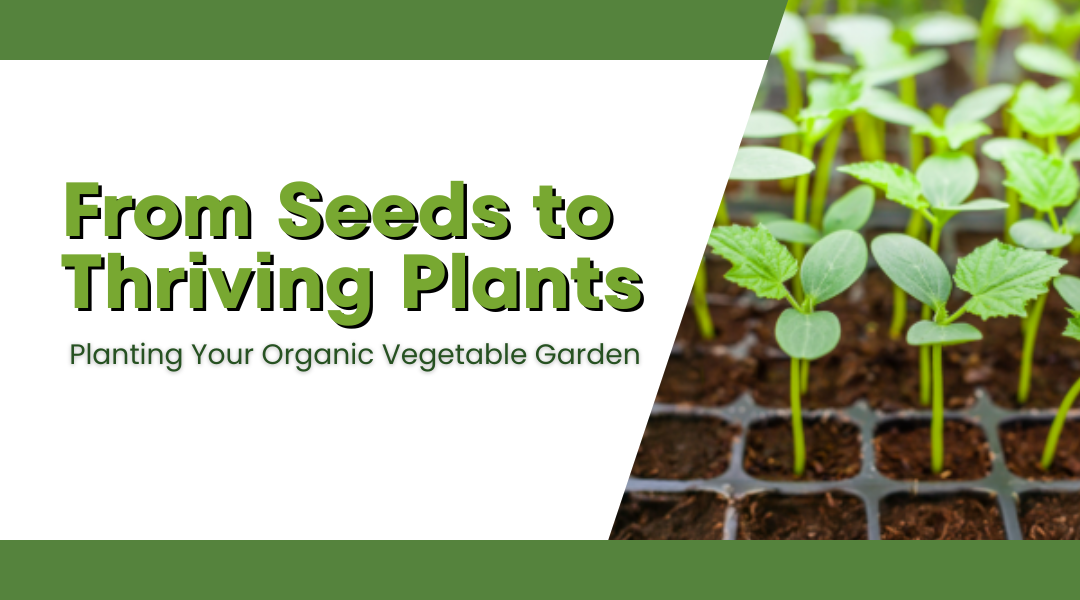
After weeks of planning your garden, preparing rich, living soil, and selecting the vegetables you want to grow, it’s finally time for the most exciting step—planting. Whether you’re starting seeds, transplanting young seedlings, or filling containers, careful planting ensures your plants have the strongest possible start and sets the stage for a productive growing season.
Seeds Indoors or Directly in the Garden: Choosing the Right Approach
Not all vegetables thrive when treated the same. Some need a head start indoors, while others prefer to grow directly in the soil. Knowing which approach suits each plant will maximize success.
Starting Seeds Indoors
Starting seeds inside allows you to get a jump on the season and nurture tender, slow-growing crops in a controlled environment.
Why Start Indoors:
- Extends the growing season for long-maturing crops.
- Protects fragile seedlings from frost, pests, and unpredictable weather.
Common Vegetables to Start Indoors: Tomatoes, peppers, eggplants, broccoli, cauliflower, cabbage, melons, and squash.
Indoor Setup Essentials:
- Seed-Starting Mix: Light and fluffy to allow roots to penetrate easily.
- Containers: Seed trays, peat pots, soil blocks, or recycled containers with drainage holes.
- Light: Bright sunlight works, but grow lights often give stronger, more uniform seedlings.
- Warmth: Many seedlings prefer consistent warmth; a heating mat can help.
Timing Tip: Refer to your seed packet for guidance (e.g., start 6–8 weeks before the last frost).
Direct Sowing in the Garden
Some crops dislike root disturbance and grow quickly from seed, making direct sowing the better option.
Vegetables Ideal for Direct Sowing: Carrots, radishes, beets, beans, peas, corn, lettuce, spinach, arugula, zucchini, and cucumbers.
Timing Tip:
- Cool-season crops: Sow as soon as the soil is workable in early spring.
- Warm-season crops: Plant after the last frost, when the soil is warm.
Step-by-Step Direct Sowing:
- Prepare the Seedbed: Smooth, free of rocks and clumps.
- Check Depth and Spacing: Follow the seed packet instructions.
- Mark Rows (Optional): Use stakes and string for straight rows.
- Plant Seeds:
- Small seeds (carrots, lettuce) in shallow furrows; sprinkle thinly.
- Large seeds (beans, peas) individually in holes; sow 2–3 per spot, thin later.
- Tip: Mix tiny seeds with sand for even distribution.
- Cover and Water: Gently cover seeds and water with a fine spray. Avoid compacting the soil.
- Label Rows: Helps track what’s planted where.
- Keep Moist: Maintain consistent moisture until seeds sprout.
Transplanting Seedlings: Giving Them a Strong Start
Seedlings grown indoors or purchased from nurseries need careful handling to minimize stress.
Harden Off Seedlings: Gradually acclimate indoor seedlings to outdoor conditions over 7–10 days, starting with a few hours in shade and gradually increasing sunlight and wind exposure.
Best Time to Transplant: Calm, overcast days or late afternoon to reduce heat and sun stress.
Transplanting Steps:
- Water: Hydrate seedlings in their pots 1–2 hours before planting.
- Prepare Holes: Slightly larger than the root ball, spaced according to the plant’s mature size.
- Remove Seedling Carefully: Support the root ball and stem; gently tease apart circling roots if necessary.
- Plant: Place the seedling so the root ball top is level with the soil. Tomatoes can be planted deeper to encourage extra roots along the buried stem.
- Backfill: Firm soil gently around roots, eliminating air pockets.
- Water Thoroughly: Soak the root zone to help settle soil.
- Optional Shade: For hot days, provide temporary shade for a day or two to reduce transplant shock.
Planting in Different Garden Types
- Containers: Ensure drainage holes, use quality potting mix, follow sowing or transplanting guidelines.
- Raised Beds: Plant in rows or blocks; avoid stepping on soil; adhere to spacing recommendations.
- In-Ground Beds: Clearly define pathways, plant in rows or wide beds, and mulch around plants after establishment to conserve moisture and suppress weeds.
Watering: The Critical First Step
Proper moisture is essential for seeds and transplants:
- Seeds: Keep surface soil consistently damp until germination.
- Transplants: Maintain moisture in the root zone for the first week or two as roots establish.
- Avoid Extremes: Don’t let soil dry out completely, but avoid waterlogging, which can kill seeds or cause root diseases.
Conclusion: The First Step Toward a Thriving Garden
Planting your seeds and seedlings marks the beginning of your garden’s story. By carefully choosing whether to start indoors or sow directly, handling transplants with care, and paying attention to soil moisture and spacing, you give your plants the best chance to flourish.
Once in the ground, your focus shifts to ongoing care—consistent watering, organic feeding, pest prevention, and observing growth patterns. The effort invested at this stage pays off with stronger, more resilient plants and a bountiful, healthy harvest. Planting is more than a chore—it’s the moment where your planning and preparation bloom into life, setting the stage for a productive, vibrant organic garden.
